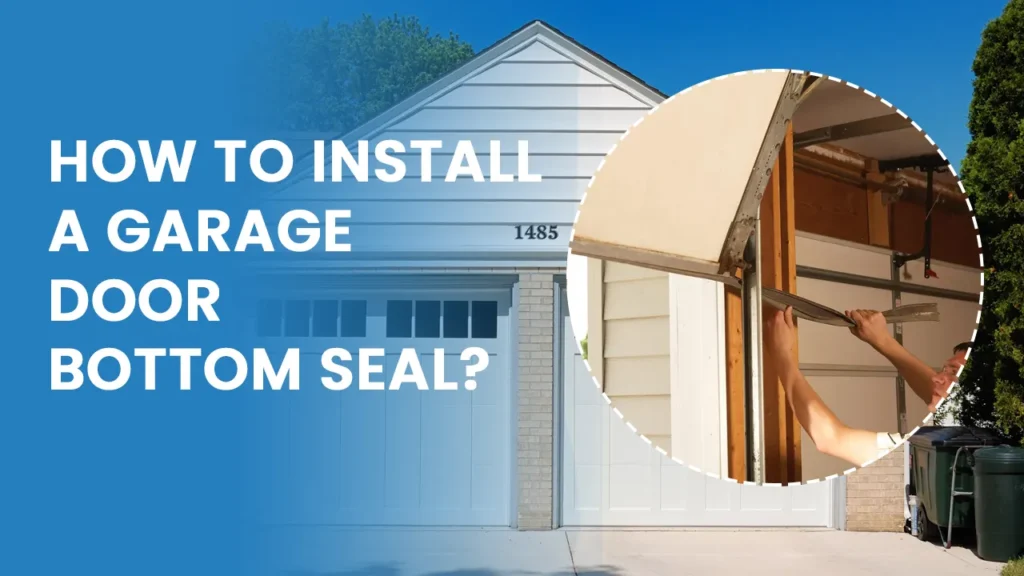
The garage door bottom seal is important for maintaining the integrity and efficiency of your garage. It keeps out drafts, dust, moisture, and pests while enhancing energy efficiency. As the seal deteriorates over time, you may experience increased energy bills or damage to your garage. If you see gaps bellow your garage door, it’s time to install a new bottom seal.
Here’s a step-by-step guide on how to do it effectively.
Key Steps for Installation and Maintenance
To begin, gather your materials and tools. You’ll need a new bottom seal, a measuring tape, screws (if applicable), a screwdriver, scissors for trimming, and cleaning supplies. Preparing these items before starting will streamline the process.
Next, take precise measurements of your garage door’s width to ensure the seal fits properly. It’s essential to cut the seal to the correct length, as an ill-fitting seal can lead to gaps and ineffective sealing.

- Remove the Old Seal: If there is an old seal in place, carefully remove it. This may involve unscrewing it or pulling it away from the door. Clean the area thoroughly, ensuring that all debris and remnants of the old seal are removed.
- Measure and Cut the New Seal: Using your measuring tape, measure the width of your garage door and cut the new bottom seal to the appropriate length. It’s crucial to ensure that the seal is not too long or too short, as this will affect its effectiveness.
- Position the New Seal: Align the new seal with the bottom edge of your garage door, ensuring it sits evenly across the entire width.
- Secure the Seal: Depending on the type of seal you’ve chosen, you may need to use screws or adhesive to secure it in position. Using screws, drill them into the appropriate places along the length of the seal while being careful not to overtighten and damage the material.
- Test the Seal: Once the seal is secured, close the garage door and check for proper contact with the ground. Look for any gaps or areas where light may be visible beneath the door. This will help you determine if adjustments are needed.
- Make Adjustments if Necessary: You notice that the seal isn’t making adequate contact, consider repositioning it or trimming it further to achieve a better fit. Ensuring the seal is snug against the ground will maximize its effectiveness in preventing drafts, water, and pests from entering your garage.
- Regular Maintenance: After installation, periodically inspect the bottom seal for wear and tear. Look for signs of deterioration or damage, especially after severe weather conditions. Regular maintenance will prolong the life of your garage door bottom seal and ensure it continues to function effectively.
Materials Needed
To start the installation process, gather all materials needed. These include a new garage door bottom seal, which can be purchased at hardware stores or online. Also, have a measuring tape, utility knife or scissors, a screwdriver, and potentially adhesive or screws for secure attachment. Being prepared with these tools will help make the task more efficient.
Measuring for the Bottom Seal

- Measure the Width of Your Garage Door: Start by measuring the width of your garage door from one side to the other. This measurement is crucial for ensuring that you purchase the correct length of bottom seal.
- Check the Existing Seal: If there’s an existing bottom seal, measure its width and height to determine what type you currently have. This can help you choose a compatible replacement.
- Determine the Type of Seal Needed: There are various types of bottom seals available, including vinyl, rubber, and brush seals. Based on your measurements and existing seal type, select one that suits your garage door’s needs.
Removing the Old Bottom Seal

- Open the Garage Door: Begin by opening your garage door fully to give yourself ample space to work.
- Inspect the Old Seal: Take a moment to examine how the old bottom seal is attached. Most seals are either slid into a track or secured with screws or adhesive.
- Remove Any Fasteners: If your existing seal is secured with screws, use a screwdriver to remove them. For adhesive seals, carefully pry the seal away from the door using a utility knife or your hands. Be cautious not to damage the door itself during this process.
- Clean the Area: Once the old seal is removed, clean the track or area where the seal will be installed. Remove any debris, dirt, or adhesive residue to ensure a smooth surface for the new seal.
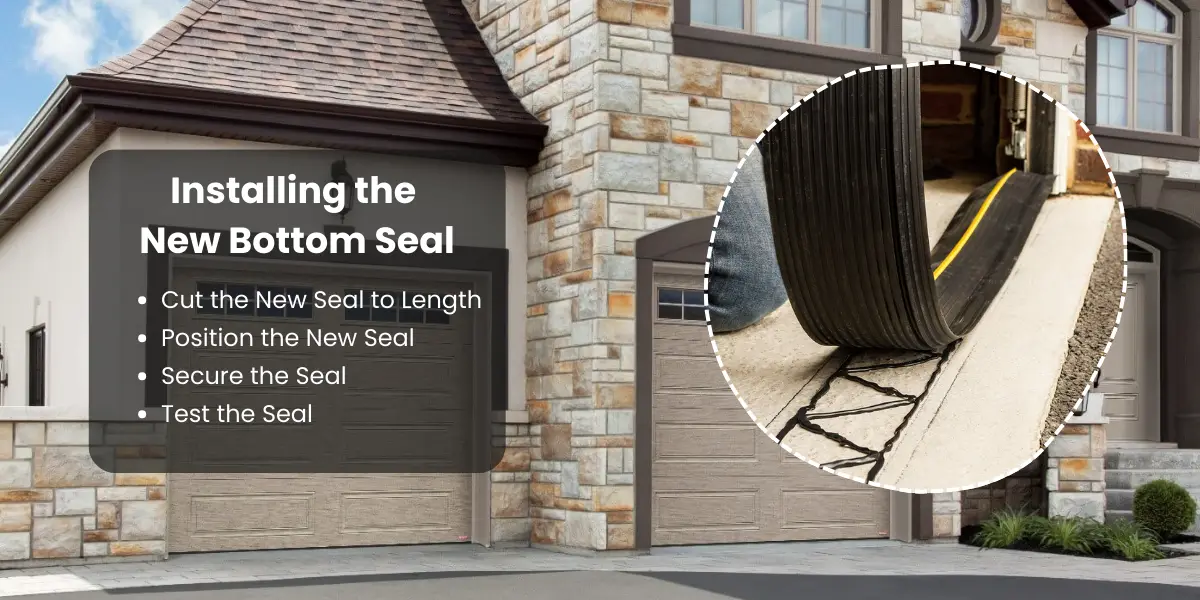
Installing the New Bottom Seal

- Cut the New Seal to Length: Using your measuring tape, cut the new garage door bottom seal to the appropriate length based on your earlier measurements. If you’re using a roll of seal material, ensure that it is cut straight for a proper fit.
- Position the New Seal: Place the new bottom seal into the track or position it along the edge of the garage door where it will attach. Make sure it is aligned properly and fits snugly against the door to create an effective barrier.
- Secure the Seal: If your new seal requires screws, use a screwdriver to attach it securely. For adhesive seals, peel off the backing and press it firmly into place along the bottom of the garage door. Ensure there are no gaps or spaces where air or moisture could seep through.
- Test the Seal: After securing the new bottom seal, close the garage door to test its effectiveness. Check for any gaps or spaces that may allow drafts, moisture, or pests to enter. If you notice any issues, make necessary adjustments to ensure a snug fit.
Maintenance and Care
To ensure the longevity of your new bottom seal, regular maintenance is essential. Periodically check for signs of wear or damage, such as cracks or tears. If you notice any issues, address them promptly to prevent further deterioration.
When cleaning your garage door, pay special attention to the area around the bottom seal. Use a mild detergent and water to remove dirt and grime, taking care not to damage the seal itself. Avoid using harsh chemicals that could break down the material.
Reapply Lubrication: If your bottom seal is made of rubber or other flexible materials, consider applying a silicone-based lubricant occasionally to help maintain its flexibility and effectiveness against the elements.
Seasonal Inspections: Conduct seasonal inspections, especially before winter or summer, when extreme temperatures can affect the integrity of your seal. Check for any signs of wear and replace the seal if necessary to ensure optimal performance.
Final Thoughts
Installing a garage door bottom seal is an important task that can improve energy efficiency, prevent moisture, and deter pests. By closely following the steps and staying on top of maintenance, you can have a well-sealed garage for added benefits. Whether you’re experienced or new to DIY projects, careful installation and upkeep will help maintain a safe and comfortable garage space.
For optimal functionality and safety, reach out to professionals or use online resources for assistance if needed while installing a new bottom seal on your garage door. A well-installed bottom seal enhances the comfort and security of your home. With proper materials and effort, you can ensure a durable bottom seal that lasts for years.

